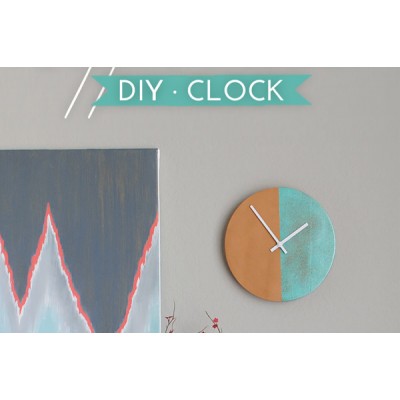
When I spotted the Geometria clock at Anthropologie, I immediately fell in love with its simple yet striking design – one half smooth copper, one half richly colored and textured patina – and knew I wanted to attempt a DIY version.
Now, my clock is not copper and does not have authentic patina, but for over $300 saved, I can forgive a few material discrepancies.
Plus, in order to create the faux-patina on the clock face, I had the opportunity to bust out an under-represented and perhaps wrongly-maligned craft technique from the 90’s… That’s right – I’m bringing sponge painting back, baby!
Ready to get in touch with your inner faux finisher?
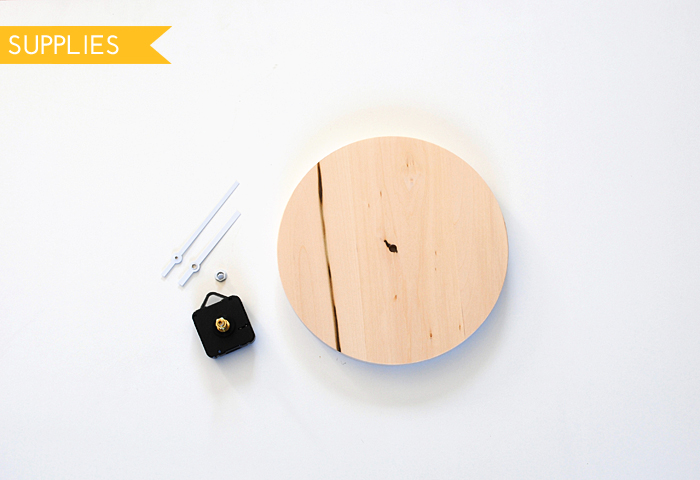
Supplies:
- Round wooden clock face – I used a 10″ wooden clock face I found at the craft store.
- Clock movement – There are two measurements to keep in mind: make sure the clock movement works with the thickness of your clock face, and choose hands that are long enough to be proportional with the diameter of your clock face.
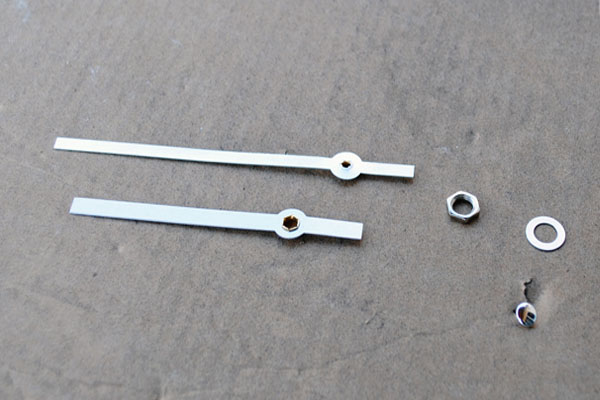
- Optional: modern clock hands – I didn’t like the traditional style clock hands that came with my clock movement, so I replaced them. Google “clock parts” for lots of options!
- White primer
- Copper spray paint – I recommend the Krylon Premium Copper Metallic Brilliance because it’s just gorgeous, but you can probably find it locally at a more affordable price.
- Clear lacquer spray
- White spray paint
- Delicate surface painters tape
- Metallic acrylic craft paint – I 4 colors to create the patina: emerald green, soft gray-green, aquamarine, and chocolate brown.
- Faux-finishing sponge
- Fine-grit sandpaper/sanding sponge
Step 1:
Before you start, test fit the clock face, clock movement, and clock hands to make sure they all fit together.
Even though I was careful to purchase a clock movement to work with the thickness of the clock face, it didn’t quite fit, and I had to spend a good chunk time sanding down the back of the clock (after I complete all the painting!).
Step 2:
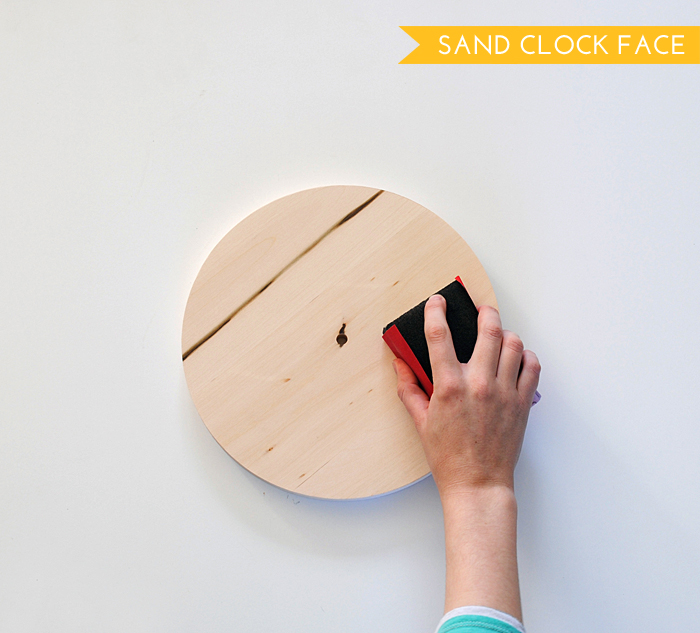
Smooth out the clock face with your sandpaper.
Step 3:
Spray paint the clock hands white.
Step 4:
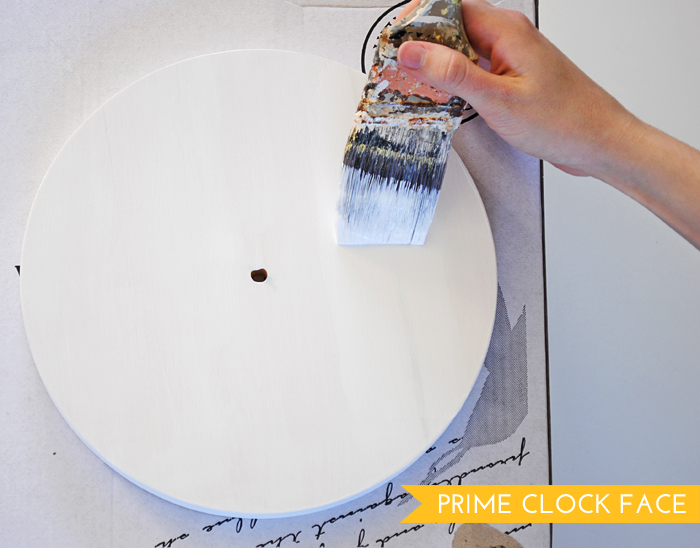
Cover the clock face with a light, even coat of white primer. If there are any visible brushstrokes, after the primer dries, use the sandpaper to smooth out the surface once more.
Step 5:
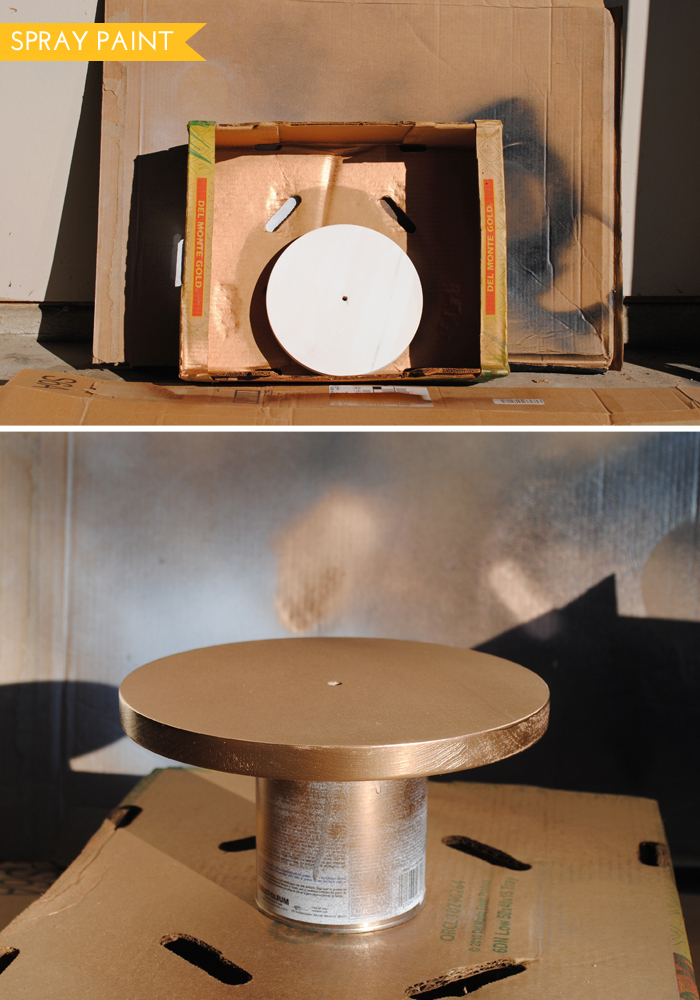
Do several thin, carefully applied coats of copper spray paint. Multiple light coats will help avoid drips.
Like my spray painting solutions? Prop the clock face upright inside a box to protect from overspray; elevate it on top of an old can to spray paint around the edge.
Step 6:
Once the copper paint has dried, spray a coat of the clear lacquer on top. The clear lacquer is important to protect the shiny copper surface when we move to the next step…
Step 7:
Use delicate surface painters tape to divide the clock face in half, rubbing the edge down well with your finger. The larger portion is where we’ll paint the copper patina design – tape around that edge of the clock face as well.
.jpg)
Step 8:
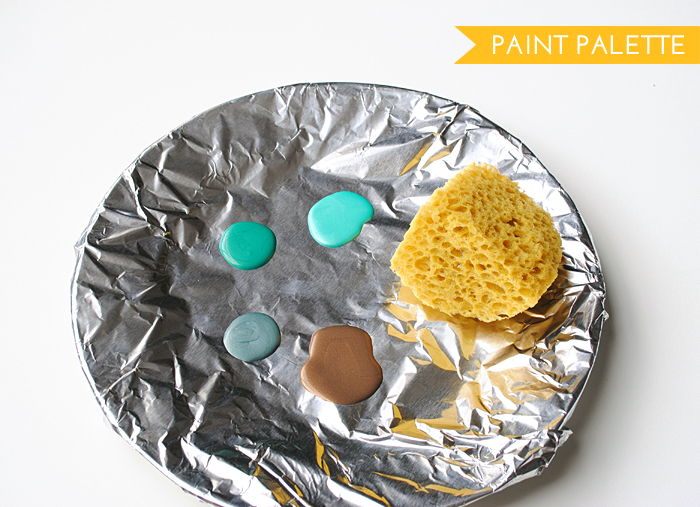
Prepare your metallic paint colors – the emerald green, soft gray-green, chocolate brown, and aquamarine.
Tip: Cover a plate with aluminum foil for an easy-to-clean-up paint palette!
Step 9:
The dream of the 90’s in alive in… your home! Don’t fear the faux finish – it’s time to grab that sponge and dab away like it’s 1992 and mauve is still a thing!
Practice your sponge-painting techique on a piece of cardboard or scrap paper first. You’ll want to have a small bowl of water available to thin the paint/clean the sponge.
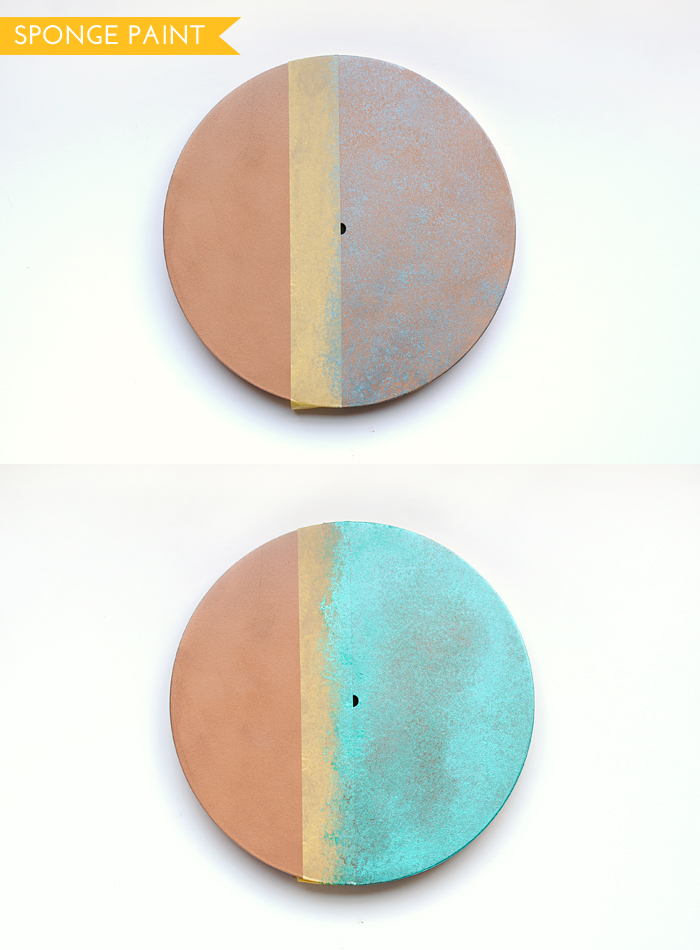
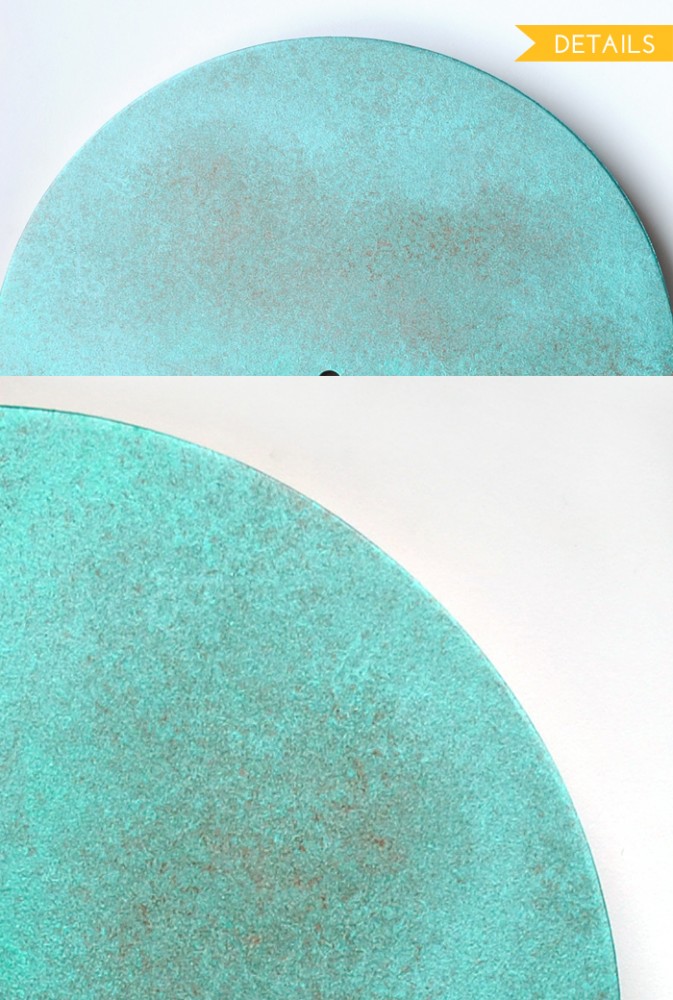
For the patina effect, I started with the gray-green paint, then followed with the emerald green, the aquamarine, and finally the chocolate brown.
Tip: Always lightly dab – never drag the sponge, or press too hard. You want the colors to stipple right on top of each other and blend nicely. You can stamp a clean portion of the sponge on top to help avoid any harsh edges.
Step 10:
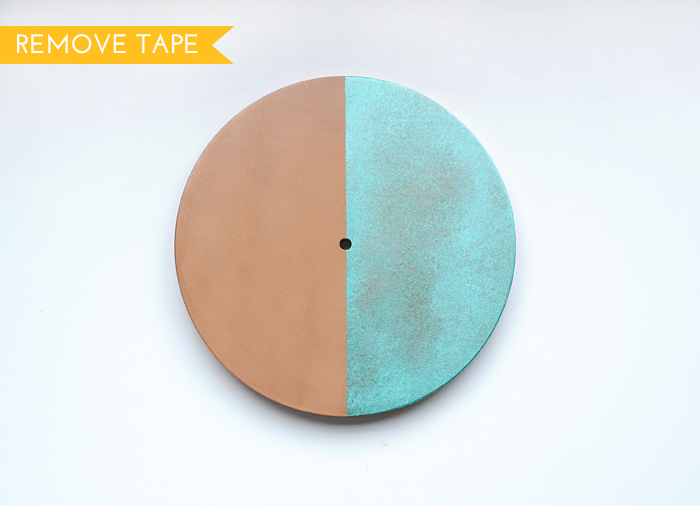
Carefully remove the tape – it’s fine to do this while the paint is still wet.
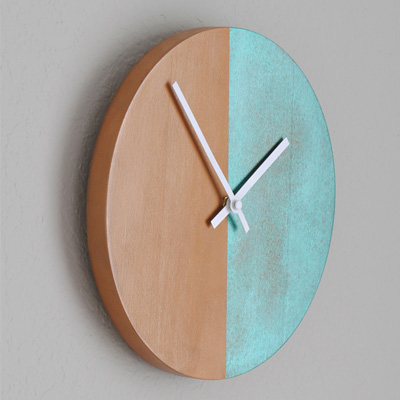
After the paint has dried, install the clock movement and hands. They should snap together easily.
My clock movement had a built-in loop on the back for hanging, so I was good to go!
(Just ignore the fact these these pictures were taken before the bedroom’s new gorgeous soft blush pink walls, okay?)
.jpg)
.jpg)
So what do you think? Are you ready to call up the spirit of the 90’s and unleash the power of the sponge?


