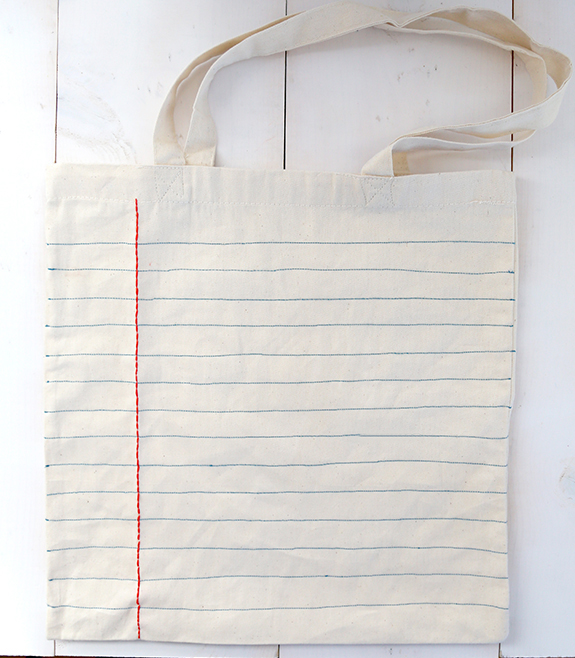
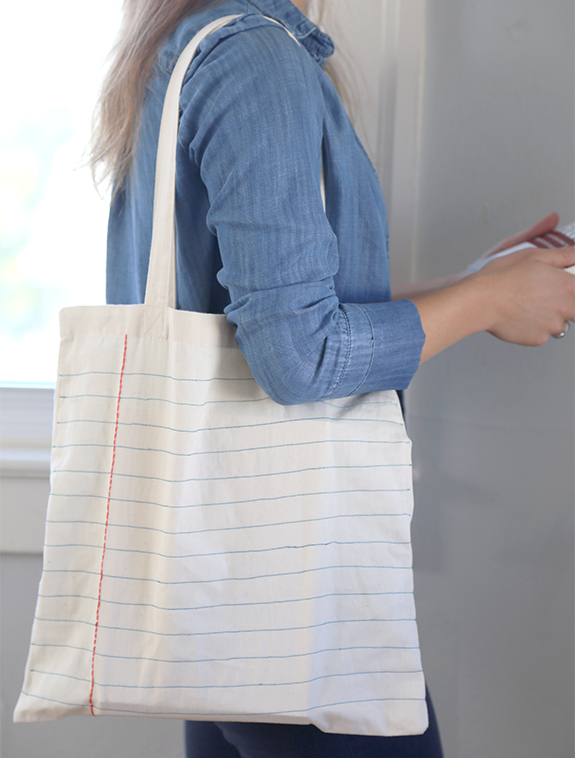
I sewed the horizontal lines with a machine and hand embroidered the red stripe. I like the look of different textures, but you could also sew the red stripe with a machine if you’d rather. This might be my favorite DIY tote yet! I love the look of sewn designs onto fabric and canvas is a super easy fabric to sew on since it’s stiff and has no stretch.
Supplies:
Canvas tote (I bought mine for under $2 each)
Sewing machine
Blue thread
Red embroidery thread + needle
Chalk
Straight edge
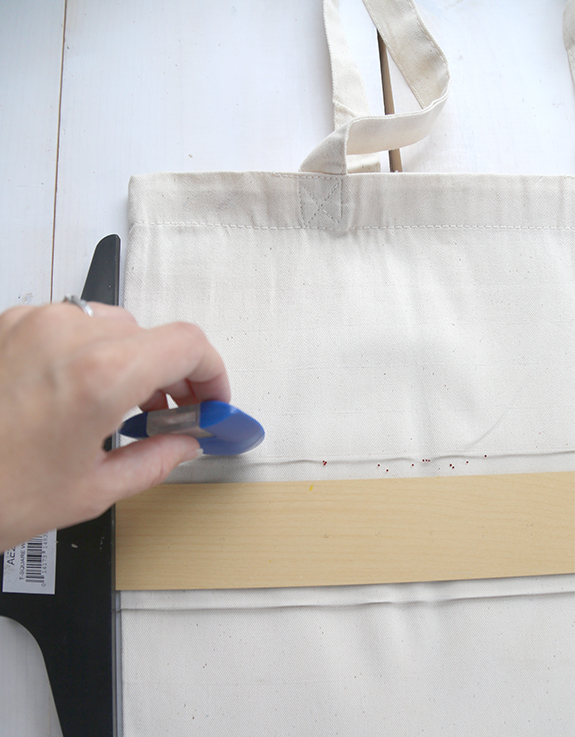
Step 1: With colored chalk, mark off the horizontal lines 1 inch apart down the whole length of the tote.
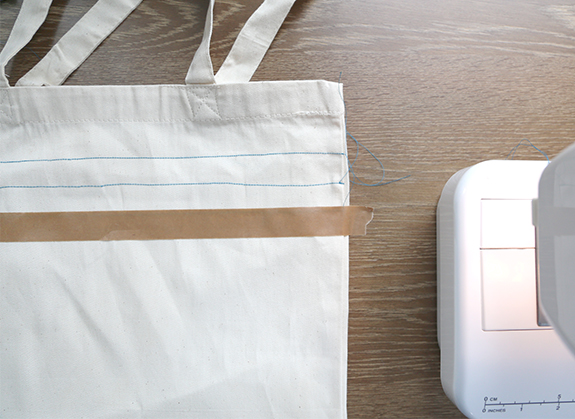
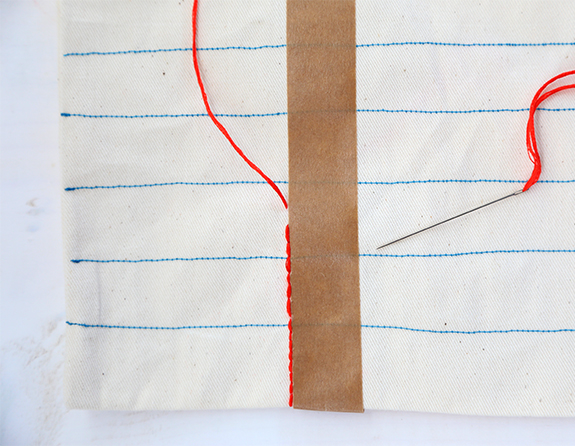
Step 2: Sew straight lines along the chalk marks with blue thread (you can use tape in addition as a guide).
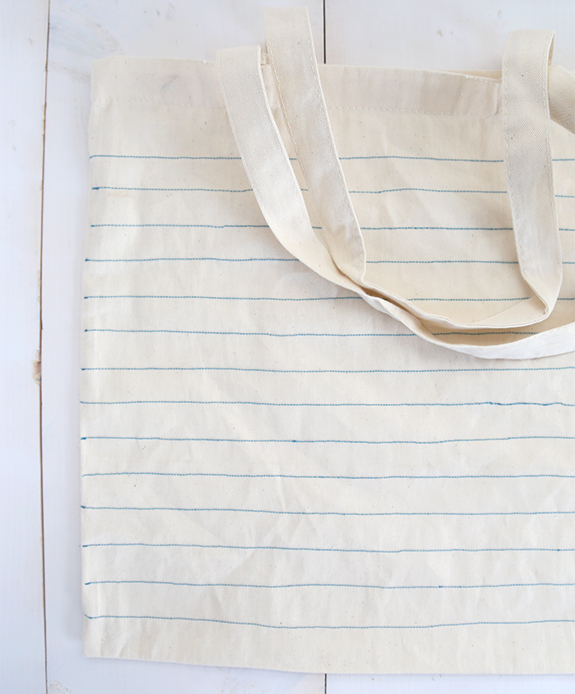
Step 3: Continue down the whole tote. I like the look of it slightly imperfect, so don’t worry about them being exactly straight. As you can see, my lines were not.
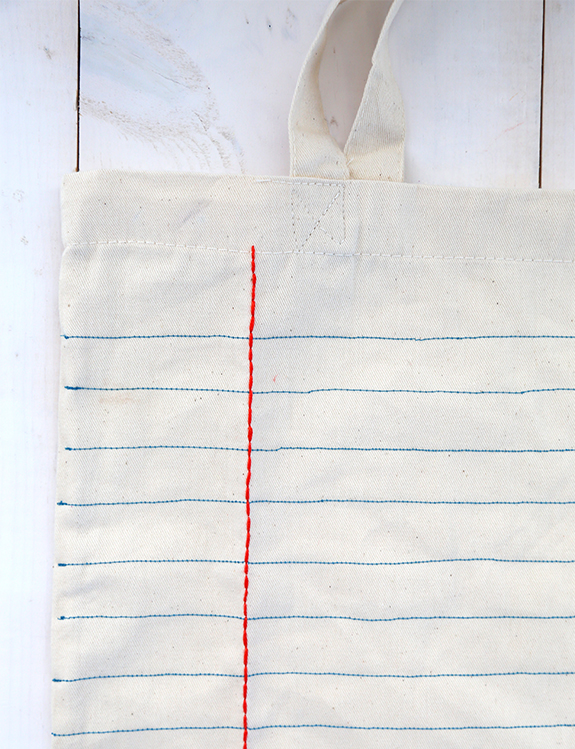
Step 4: With either tape or colored chalk, draw or mark a straight line vertically about 2-3 inches in from the left side of the tote. Embroider with red thread.
That’s it you’re done!



-400x400w.jpg)
